September 2024 Snapshot
This month's Snapshot is filled to the brim with
exciting news and updates.
What's New?
Future-proof your Classic Pages
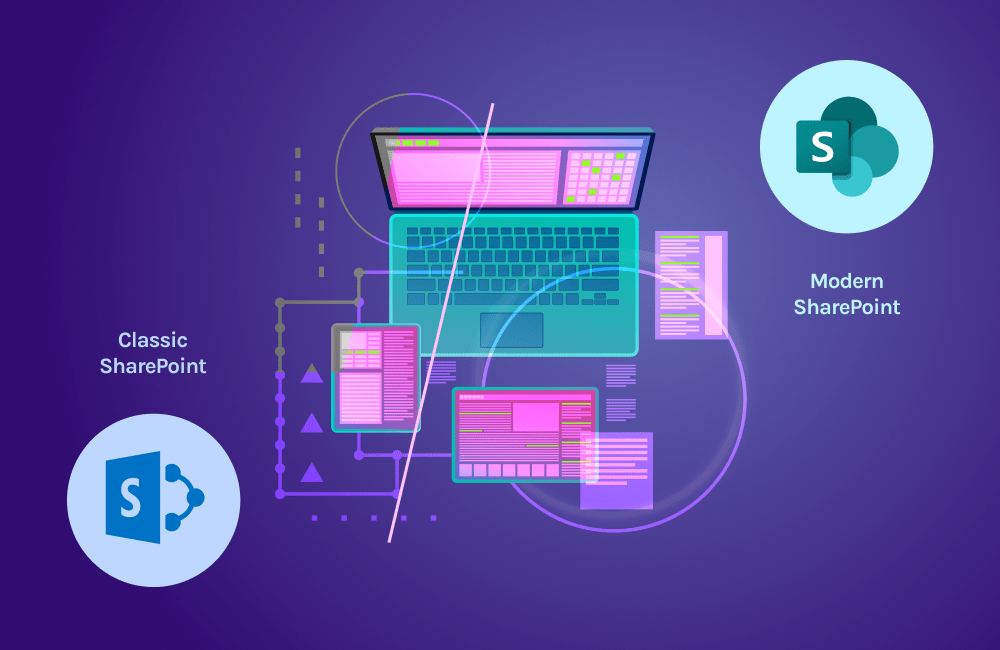
Do you use ShortPoint on your SharePoint Classic pages? If so, you need to transform your Classic pages to Modern to future-proof them!
Starting November 2024, Microsoft will remove Scripting Capabilities for SharePoint Microsoft 365 sites. ShortPoint uses Scripting Capabilities to run seamlessly on Classic pages. Because of this change, ShortPoint will no longer work on Classic Pages in Microsoft 365 environments. If you’re using SharePoint 2019 or SharePoint Subscription Edition (SE), these changes won't affect you. ShortPoint will continue to function normally on your pages.
Transforming your Classic pages to Modern pages ahead of time can help you avoid the hassle of leaving users confused and with no access to your pages' valuable information. But first, what can you get out of this transformation? Let's tackle it below!
Perks of Transforming your Classic Pages to Modern Pages
If you think that having ShortPoint work on your pages is the only benefit of changing your Classic pages to Modern ones, you’re mistaken! This transformation can give you and your users these perks:
- You will have access to ShortPoint Live Mode, a new editing interface available in Modern pages which allows you to design your pages in real time.
- Your pages' security is enhanced, giving you a safer environment.
- You will gain access to a much more user-friendly interface. Modern SharePoint pages have a clean and responsive design that users can easily navigate.
- You will experience better page performance and loading times.
- Your SharePoint pages will now be optimized for mobile devices and other screens.
Transforming your Classic Pages to Modern Pages
Now that you know all the amazing perks you can get out of this transformation, you may be wondering: “How exactly do I transform my Classic pages to Modern pages?”
We got you! ShortPoint's technical experts prepared a step-by-step guide on how you can accomplish this. All you need to do is follow the steps in ShortPoint Microsoft 365 Classic Pages Deprecation: Transforming Classic Pages to Modern Pages carefully and you're on your way to gaining the perks of having Modern SharePoint pages.
If you have further questions or concerns, you may submit a ticket at support.shortpoint.com. We're always happy to schedule a call with you for a test run to ensure a smooth transition.
SharePoint Page Editing Updates
While editing your SharePoint page, you may have noticed that SharePoint rolled out a new page editing experience. New functionalities are being introduced for users in a targeted release program. Soon, it will be implemented across all SharePoint environments.
You don't have to worry, though! These changes will not affect your use of ShortPoint. ShortPoint and all its features will continue to work seamlessly on your pages.
Some of the new page editing functionalities include:
- A new icon to edit a web part;
- A new way to add and edit sections;
- and a Toolbox that allows you to add web parts, stock images, and section templates.
You can learn more about these changes in Updates to the SharePoint Page Editing Experience in Microsoft 365. If you have any questions or concerns regarding this update, you may submit a ticket at support.shortpoint.com.
Articles
New Articles
- Updates to the SharePoint Page Editing Experience in Microsoft 365
- How to Hide the Embedded SharePoint Web Part's Title
- How to Hide Any Element Inside the Embedded SharePoint Web Part Design Element
- ShortPoint Microsoft 365 Classic Pages Deprecation: Transforming Classic Pages to Modern Pages
- How to Hide Any Element Inside the Embedded SharePoint Web Part Design Element
Updated Articles
- How to Set a Separate Color for Each Tab of ShortPoint Tabs Design Element
- What Happens If Microsoft Releases an Update for SharePoint That Conflicts with ShortPoint?
- Enable Scripting Capabilities with PowerShell for Microsoft 365
- Known Issue: Your Site Is a Group Site Collection When Enabling Scripting Capabilities
Design Element of the Month: Countdown

Create excitement around important events in your organization using the Countdown Design Element! You can use it to display a virtual timer that shows how many days, hours, minutes, and seconds are remaining until your anticipated event. Cool, right?!
What's even COOLER though is you can customize how it looks to fit the branding of your organization or the theme of your event. To help you get started on your Countdown designs, we've compiled some tutorials for you:
Customize the Countdown's Background Color
Need your Countdown to match your company’s branding color? That’s easy! You can change the background color of the Countdown Design Element to any color you want using the Settings window. To add an EXTRA twist, you can even assign a different background color for each item in the Countdown using Custom CSS. A rainbow Countdown?! Count us in!
Check out How to Change the Background Color of the Countdown Design Element to learn how to do it.
Modify the Countdown's Height and Text Position
Want to make a GIGANTIC or a teeny-tiny Countdown? You can do this using Custom CSS! By using Custom CSS, you can adjust its height and the position of the text inside, allowing you to make your Countdowns as BIG or as little as you want.
Check out How to Customize Countdown Height and Text Position to learn how to do it.
Hide/Show Elements from the Countdown
Don't want to see Days, Hours, Minutes, or Seconds in your Countdown? Just hide it! The Settings window of the Countdown Design Element has a toggle that allows you to hide/show these elements.
Check out How to Hide Days, Hours, Minutes, or Seconds for the Countdown Design Element to learn how to do it.
There are more ways to make the Countdown Design Element your own! Check out How to Customize Countdown Design Element to see the other options you can modify or do a quick search of our Knowledge Base to find more information.
Customer Spotlight
Knoll
How much do you think it costs to develop your SharePoint site to fit the branding of your organization? $5,000? $8,000? Think higher! Generally, SharePoint development projects cost around $10,000 to $150,000, depending on the scope of work and complexity of the project. Expensive, right?!
That's what Stephanie Case and the human resources team of Knoll, a workplace and residential furnishings company, thought so too! “Brand and design is a huge backbone of our company, so we needed the site to reflect that identity. The problem was we didn't have the skills, time, or experience to configure a SharePoint site internally. So, we reached out to consultants for an extra level of design support. We were spending a lot of development dollars, but things still weren't how we wanted and every day wasted was a day closer to our deadline,” Stephanie recalled.
Things changed when Stephanie discovered ShortPoint, a software that enables designers to brand and build customized designs in SharePoint with no coding! “I was thrilled when I found ShortPoint and realized I could use their tools to accurately reflect our vision for the intranet. Compared to the cost of consultants, the price of a ShortPoint license was also appealing. I was so excited to see what we might achieve with it,” Stephanie remarked.
Stephanie and the HR team faced a challenge, though. The senior management of Knoll was hesitant to use ShortPoint in their intranet. But they let ShortPoint's FREE 15-day trial speak for itself. “Rather than having to find the right words to 'sell' the solution, I could show our leadership, visually, what a new intranet could look like with ShortPoint,” said Stephanie. “Having those visuals meant they could instantly experience the benefit of ShortPoint integration.” And in no time, everyone jumped on board and agreed to use ShortPoint!
“With ShortPoint, everything was fast. From learning how to use the software and developing the sites to getting the support I needed from the ShortPoint team whenever I had a question I couldn't figure out for myself,” Stephanie explained. Because of how fast she was able to design the sites, they decided to build three additional sites—a portal for associate resources, an IT resources site, and a career development site. All four were designed and went live within the timeframe they'd originally set to create a single site.
Because of ShortPoint, Stephanie was able to help Knoll cut development costs by 70% and build their sites 4x faster than their original timeline. Now, their associates LOVE using their intranet, with an average of 4,800 visits (and counting) daily! “If you want SharePoint not to look like SharePoint, but to be more user-friendly, feel more familiar to your audience, and have an engaging look and feel, then ShortPoint is the tool. It's enabled us to change our internal comms culture for the better and make information that's important to all, accessible to all,” Stephanie added.
Keen to learn more about Knoll's story? Check out How Knoll Inc. Developed their Intranet 4x Faster Thanks to ShortPoint.
